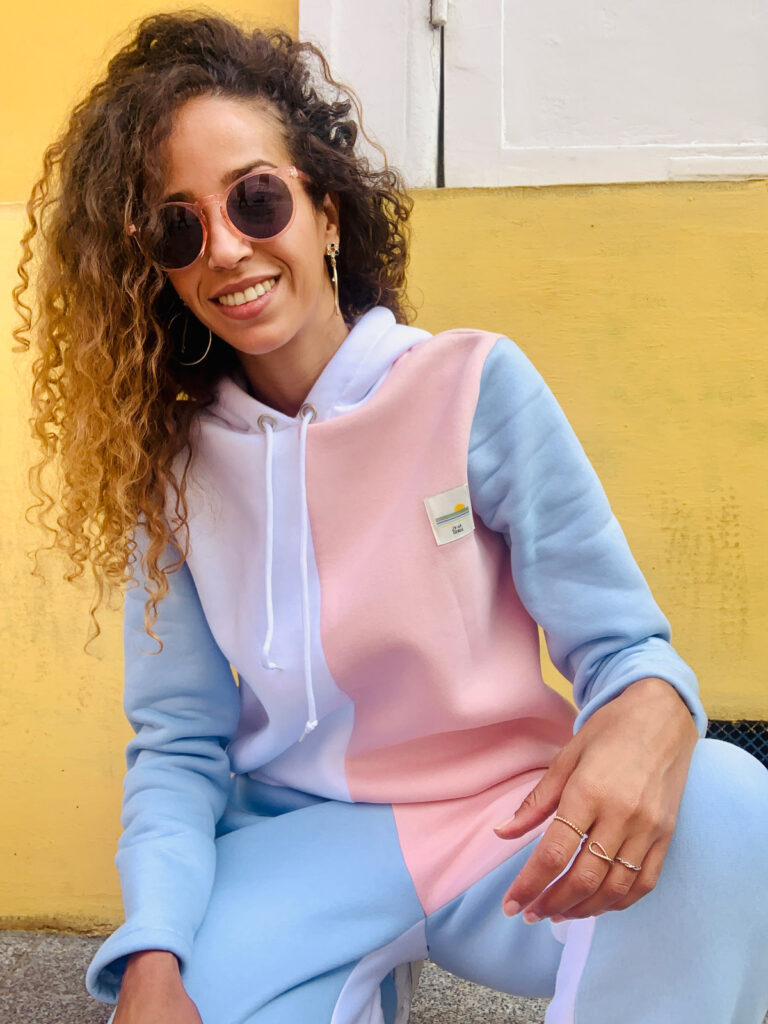
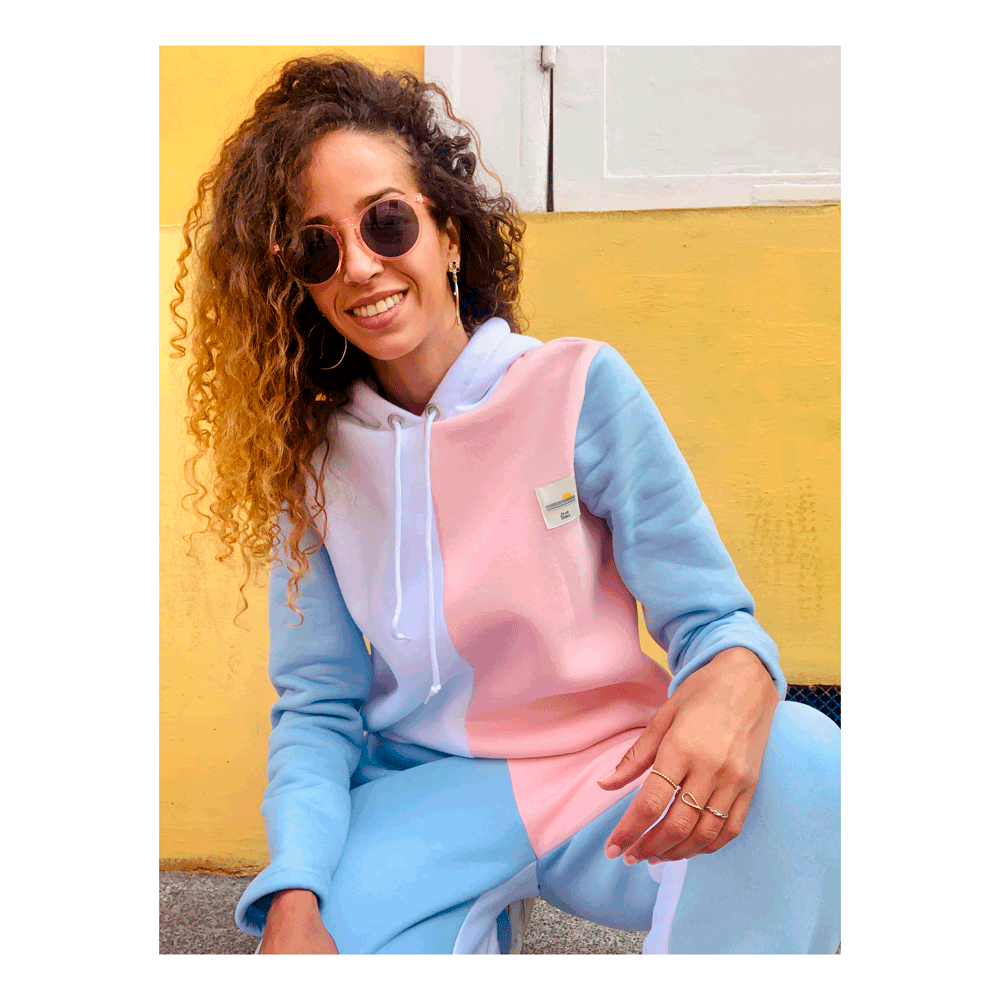
In the last decade (and even more in the past year) sweatshirts have become a staple of the contemporary wardrobe. I’ve sewn a dozen of them already and with the recent release of Rainbow I have 3 more in my wardrobe …
But what I don’t have and have been wanting for bit now is a colour block sweatshirt.
Apollon (for men or women) and Rainbow sweatshirts are perfect sewing patterns for colour blocking. In this article we’ll show you how to create your own design. And you’ll see, it’s probably easier than you might have thought initially…

The Rainbow sweatshirt by @kardamoon_creations

The Apollon for Men sweatshirt by @theaccidentalsewist

The original Apollon sweatshirt for women by @yum007
Are you inspired to make yours? Let’s get into the details then.
PREPARING THE PATTERN
Trace and cut the pattern pieces in your size.
For slip-on sweatshirts like Apollon and some variations of I AM Rainbow (the ones without a zipper) you will need to start by tracing the Front and the Back pieces in their entirety. For this, you will need to trace both the right side and the left side of each piece (as shown in the illustration below).
For the zipped versions of Rainbow, trace the Back piece in its entirety (as shown in the illustration below) and only the right side of the front piece (note: the front piece of the pattern is the right side).

To create the blocks, trace the lines directly on the pattern. You can make any shape you’d like but if you are a beginner, we advise to start with straight lines only. In the example below, we have drawn 3 lines on the front only.
Tip: make the pieces fit some of your fabric scraps to avoid throwing them away.


Trace the new pattern pieces by drawing each piece separately.

Now that you have the pattern pieces, you’ll need to add the seam allowances on the seam lines of the block pieces only (see illustration below).
For example, for I AM Rainbow, whether you are sewing using a serger or a sewing machine, add 7 mm of seam allowance as seen on the illustration below.
For Apollon and all our other sweatshirt patterns, if you are assembling your garment with a serger, then add 3/16” (5 mm) of seam allowance (as shown on the illustration below. However, when sewing it using a sewing machine, add 3/8” (1 cm) as shown on the illustration below.

CUTTING THE FABRIC
Each block of a pattern piece that was supposed to be cut on the fold (front and back of Apollon or back of the slip-on versions of Rainbow) should now be cut once.
Each block of a pattern piece that was supposed to be cut twice (like the front piece of the zipped versions of Rainbow or a sleeve for example) should be cut twice.
Cut the other pattern pieces as indicated on the booklet.
SEWING THE GARMENT
Start by assembling the geometric shapes together to obtain the full pattern piece. In this example, start by assembling the green and the blue blocks together and then sew this assembled piece with the pink block to obtain the full front piece.
Once you’ve put the pattern pieces back together, follow the instructions of the pattern to finish sewing the garment.
Happy sewing!


